Images
Best Practices
Images are an important part of any website. They can create an emotional response1, increase engagement, help explain a complex task2 and create an overall atmosphere of what your website is about.
Why?
It is important to save your images correctly for the web. Images not saved correctly could look blurry or distorted and slow down your website significantly. Both could result in users leaving your website and lower your search ranking on Google.3
How?
1. Consider Accessibility
- Images that serve as buttons or links should be avoided or at the very least have an alt tag
- Images with text should have high color contrast
- Moving images shouldn't flash more than 3 times a second
- Descriptive images should be used to help illustrate complex information
- Visit the WebAIM's page for image accessibility for more information4
2. Consider Copyright
- If you are adding an image to a University of Utah owned website and the University also owns the image, it is ok to use
- Stock photography can be purchased through websites such as shutterstock.com, istockphoto.com and stock.adobe.com
- Public domain images are available without attribution or without purchase of a license
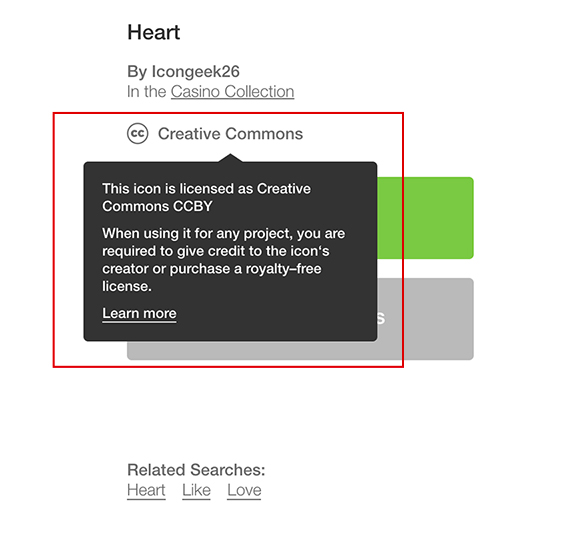
- Creative Commons– Free stock photography from websites such as Pixabay.com and Pexels.com allow you to use their images free of charge under Creative Commons licenses. Websites like TheNounProject.com can often be used with or without attribution depending on the type of Creative Commons license associated with a particular image. (see image for example). They may also require you to buy a license in order to use it for commercial purposes. Become familiar with the type of licenses a website uses before using photos or icons downloaded from that website.
- Original photography is one of the safer options when it comes to copyright
- Creative Commons images are available for use by attribution
- While searching Google, make sure to filter by license type by going to tools > usage rights
- To check an image you already have for copyright information:
- Check for subtle cues:
- Look closely for watermarks and in captions
- Check Google Images:
- Do a reverse image search to locate other websites that use the same or similar images, allowing you to verify attribution and licensing details. To use it, click the camera icon in the search bar and provide either an image URL or upload an image file.
- Check TinEye:
- Do another reverse image search with another search engine like TinEye. It's a good idea to use multiple tools as different search engines will give you varied results.
- When in doubt...don't use it. The consequences could well be expensive and unpleasant.
- Check for subtle cues:
3. Choose an Image
- Use meaningful images – Images that help support your content are more valuable than images that are there for decoration
- Images of people – Humans are drawn to pictures of other humans, using an image of a person can help connect users to your content and the way the person in the picture is looking will send your users' eyes in the same direction
- High-Quality Images – Choose images that are not blurry or distorted
- Relevant Images – The image should be relevant to the content of the page it is on
- For more information see this article on Smashing Magazine5
4. Resize your Image6
- Reduce image size – crop your image to the exact size or as close to the exact size as you want it on your website
- Save for web – When saving your image, look for a save for web option. This will greatly decrease the file size of your image
- Image quality – While saving, choose the lowest quality you can without seeing any degredation in the image (High is usually a good setting)
- Compress image – Software like Photoshop already does a good job at this, but you can use image compression software to bring down the file size further (ex. Squoosh and ShortPixel)
5. Choose a file type7
- JPEG/JPG – JPEG is a great choice for website photos because it creates the smallest file size. This file type is perfect for raster images (images taken with a camera).8
- PNG – PNG is the perfect file type when you have a raster image that needs to have a transparent background or that is complex.
- SVG – This file type is for vector images. (computer-made images like icons or logos) It allows the vector image to never be blurry regardless of resolution or size.